1. What is Maximum Material Condition (MMC) and Least Material Condition (LMC)? Explain with examples?
2. Describe, using a diagram, how a sine bar setup could be used for angular comparison measurement.
The Correct Answer and Explanation is :
1. Maximum Material Condition (MMC) and Least Material Condition (LMC)
- Maximum Material Condition (MMC): MMC is the condition of a feature in which it contains the maximum amount of material within its dimensional tolerance. For holes, this means the smallest diameter. For shafts, it means the largest diameter. The MMC is critical in engineering as it ensures that parts fit together properly and maintain functional clearance or interference. Example:
A hole specified as ( 10.0 \pm 0.1 ) mm: - MMC = ( 9.9 ) mm (smallest hole, maximum material). A shaft specified as ( 10.0 \pm 0.1 ) mm:
- MMC = ( 10.1 ) mm (largest shaft, maximum material).
- Least Material Condition (LMC): LMC is the condition of a feature in which it contains the least amount of material within its dimensional tolerance. For holes, this means the largest diameter. For shafts, it means the smallest diameter. LMC is essential for evaluating features such as wall thickness and structural integrity. Example:
For the same hole: - LMC = ( 10.1 ) mm (largest hole, least material). For the same shaft:
- LMC = ( 9.9 ) mm (smallest shaft, least material).
2. Sine Bar Setup for Angular Comparison Measurement
A sine bar is used in precision angular measurements by utilizing the sine principle. Below is a step-by-step description of how to use a sine bar:
- Setup the Sine Bar:
- Place the sine bar on a surface plate.
- Use gauge blocks to elevate one end of the sine bar.
- Alignment:
- Place the workpiece on the sine bar.
- Adjust the gauge block height to match the required angle.
- Measurement Process:
- Calculate the angle using ( \sin(\theta) = \frac{\text{height of gauge block}}{\text{distance between sine bar rollers}} ).
- Compare the measured angle with the desired angle.
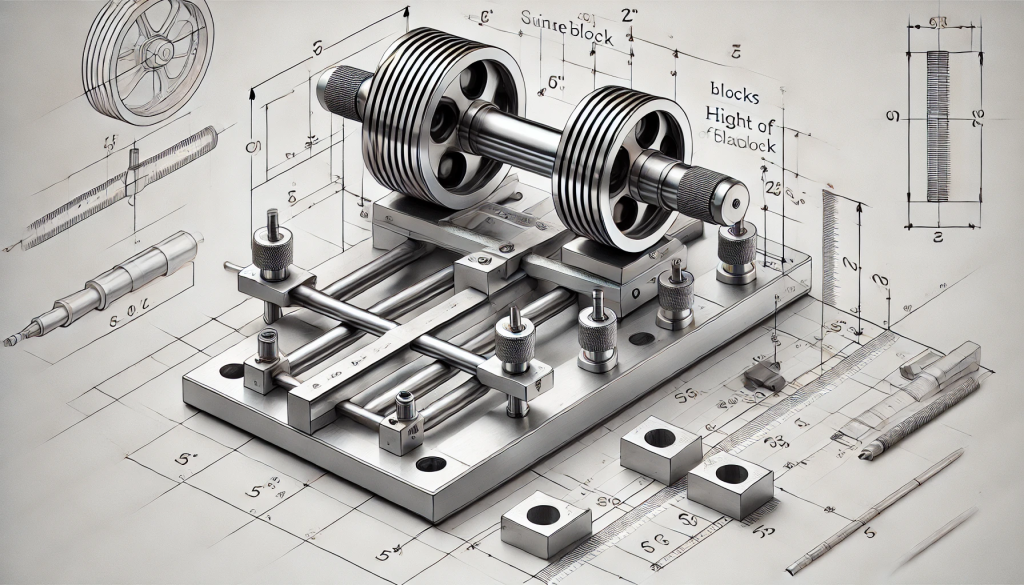
Below is a diagram illustrating the setup:

The diagram above illustrates the sine bar setup for angular comparison measurement.
The sine bar is placed on a flat surface plate with one end elevated using gauge blocks. The height of the gauge blocks and the distance between the rollers on the sine bar are critical to determining the angle, which is calculated using the trigonometric relation ( \sin(\theta) = \frac{\text{height of gauge block}}{\text{distance between rollers}} ). This setup allows for precise angle verification and adjustment in engineering applications.